Fab Shop – How To Paint Hard Plastic Bodies
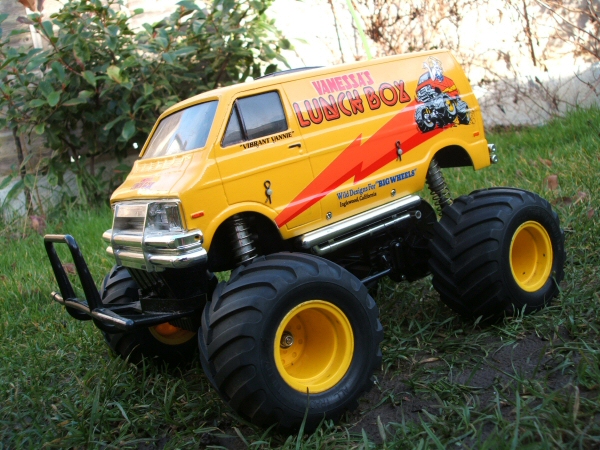
It almost goes without saying but the Tamiya Lunchbox is a fun, entry level RC. What makes it great is that it’s simple, cool looking and it pops wheelies which makes it a ton of fun for beginners and experts alike AND…Tamiya still sells this model and has left it pretty much the same rig as the one they released in 1987. I got mine when I was 13 so when it came to putting it together, like most kids, I was impatient and unskilled. Although it went together quickly, needless to say, the paintjob was “less than desirable”. I remember the crushing blow of defeat when all the details of the body disappeared beneath the bright yellow paint I slathered on too quickly and heavily. Fast forward 25 years; my wife recently bought me a rere Lunchbox so I quickly popped open the box and made short work of assembling my new beauty. It took me a matter of hours to build but it’s taken me about a year to get to paint it because I was too nervous to mess it up again. If you’ve ever found yourself in this same spot, believe me, it actually isn’t as hard as it may seem. Here’s a look at the proper way to paint a hard plastic body like that of the Lunchbox.
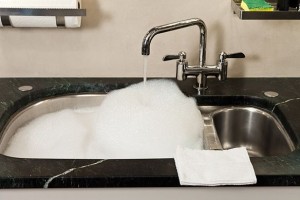 1. The first thing I’ve learned about painting is that prep is key. There are some residual oils left on the body after the molding process so after trimming the body of any flashing, wash it with warm soapy water and then thoroughly dry it. If you dry it with paper towels, be sure to blow off any lint they leave may leave before painting. To avoid lint I used a clean terrycloth shop towel instead.
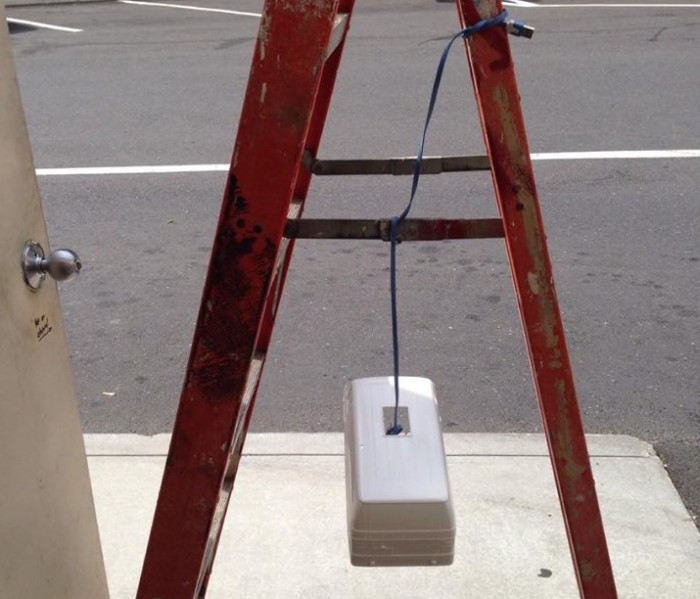
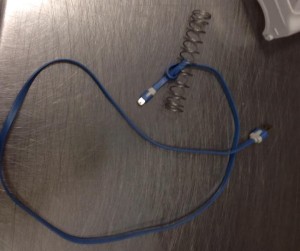 2. Now that you have body prepped and ready for paint, you’ll need an appropriate area to paint. I used a ladder and a wire with a spring tied to the end to hang my body so that i could spray all angles without touching the body itself. This avoids fingerprints and doesn’t let the body “glue” itself to any surfaces it is sitting on while the paint dries.
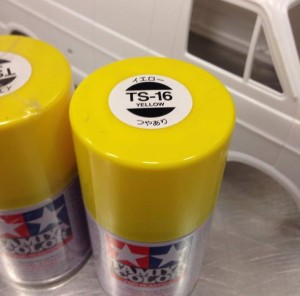 3. Use quality paint like Tamiya’s TS paints for hard plastic. They are specially formulated for the plastic used for bodies and dry with a glossy finish. If you’re building a new kit, the instruction manual will actually call out the correct color if you’re aiming for a box art look. Shake your paint for thirty seconds to a minute to make sure it’s mixed well. There’s no exact science to this, but erring on the side of caution is better than spraying clumpy, unmixed paint.
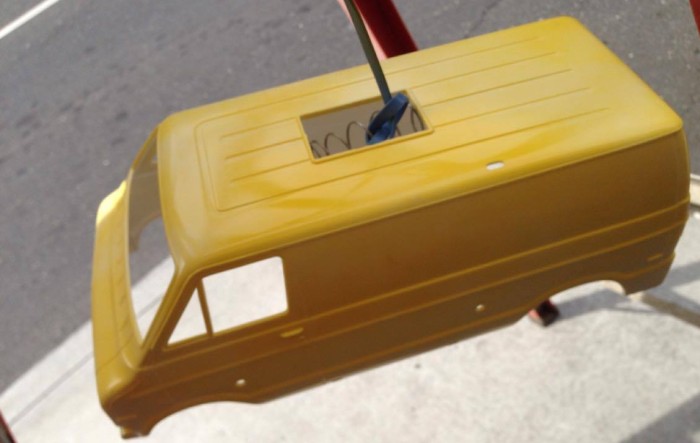 4. Starting on the top and working my way around the entire body, holding the can upright six to eight inches from the body, lightly apply a thin coat of paint. You’re not trying to go for full coverage in one shot. Thick coats of paint will surely run and fill in the fine detail of your body.
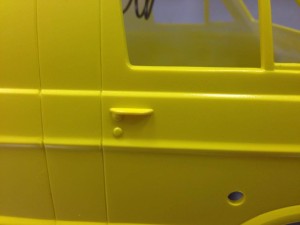 5. Between coats, let the body air dry for about twenty minutes, you should apply five to six light coats of paint, making sure to hit the lightest spots each time. If you’re doing it correctly you will see that the details of the body remain perfectly intact. If you happen to overspray and get a drip, let it dry completely and then lightly sand the area in a circular motion until the drip is gone. You’ll cover it back up with another coat of paint to smooth out the color next round.
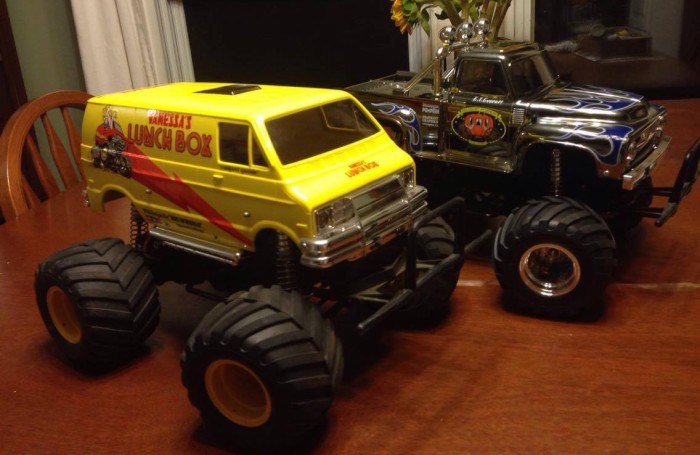 After a couple of hours of patiently waiting for paint to dry and reapplying more paint, the body is finally covered without drips! Let it dry for about twenty more minutes, and then take it off the rigging and let it dry for a couple of days before applying the decals and your body is finished! Take your time, and don’t lay down too much paint at once. It only takes one quick over spray to ruin what could have been a sweet paint job. If you make a mistake, let the paint dry completely and go back and sand it down and do it over again. Using light coats is better than a few heavy ones and it will keep all of the detail and the surface nice and smooth and the finished product will look awesome.


