How To: Rebuild Team Associated Team Shocks
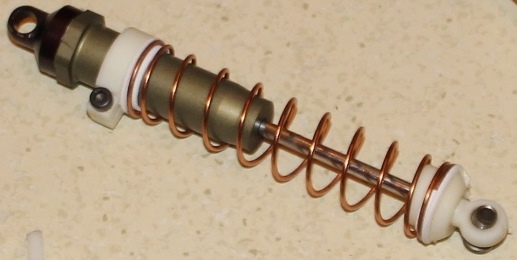
Ah, the venerable top load Associated Team Shock. While big bore shocks have made there way onto modern off-road vehicles, these “standard bore” shocks have proven more than effective for many years. So much so, that the Team Shock design was first introduced in the 1990 with the RC10T and RC10 Team Car and continued to find its way into kits all the way up to the RC10B4. When properly built, these shocks will tame the bumps and jumps with the best of them, but because they’re an older design that you may not be familiar with, there’s a few things you should know before opening them up so lets go through the process of a proper Team Shock rebuild.
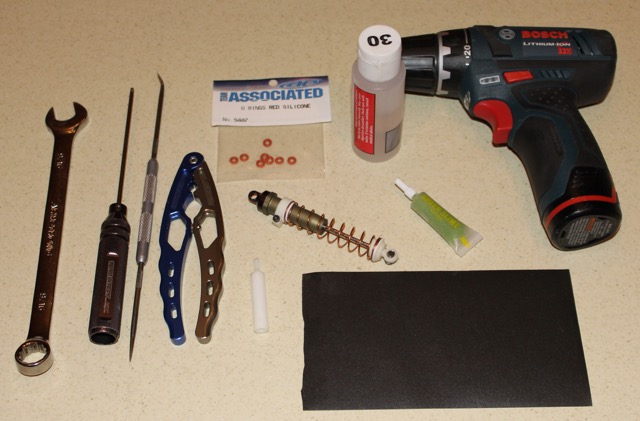
Gather all the tools you’ll need for your task; a clear working area makes the job much easier! I like to rebuild mine in pairs; fronts and then rears to keep better track of spacers, pistons, oils, etc.
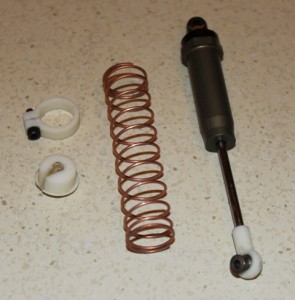 1. Disassemble
Start by measuring the distance from the top of the adjustment collar to the bottom of the shock body hex and also from the bottom of the body to the ball end. Write down these measurements and save it for use during reassembly. Now you can disassemble your shocks.
2. Get A Grip
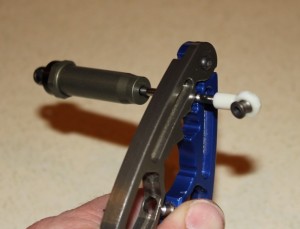
Break out your shock pliers and lets get started. If you don’t have a set, these specialized pliers are made of aluminum and are designed to give you a good grip on the shaft while unscrewing the ball end. Since aluminum is a softer material than the shaft, they won’t scratch it if it spins when turning the ball end. Regular needle nose pliers can be used, but be careful and put a rag in between them so you don’t scratch the shafts.
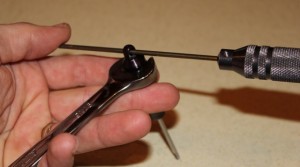 3. Off The Top
The Team Associated’s shocks can be difficult to break the shock cap loose. Simply use a 9/16” wrench to grap the hex on the body and a wrench that will fit through the top eyelet in the cap. DO NOT use pliers to grip the shock body or you could deform the cylinder shape and ruin the shock body.
4. Clean It Out
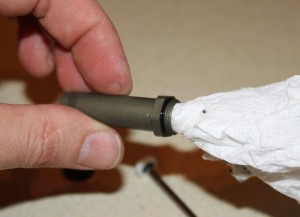
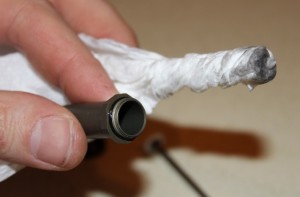
After removing the cap, turn the shock upside down over a trash can to remove the old oil. Stroke the shock a few times to get the oil out and then remove the shaft assembly and use a shop rag to mop up the remainder. Be sure to inspect the cap o-ring as well and if it’s cracked, it will need to be replaced with a new one. Finally, remove the seals from the bottom of the body using a Team Associated Shock Tool.
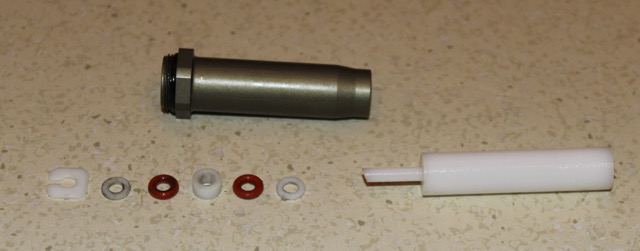
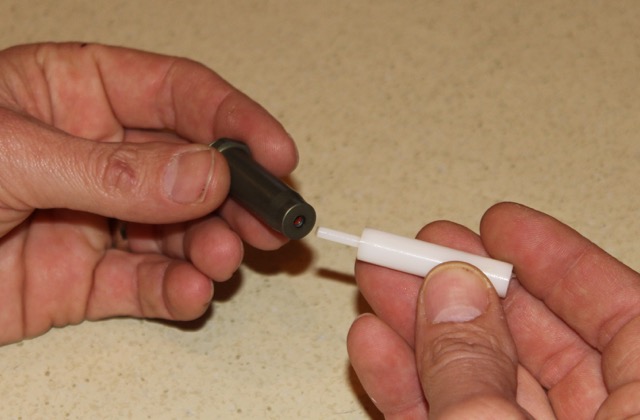
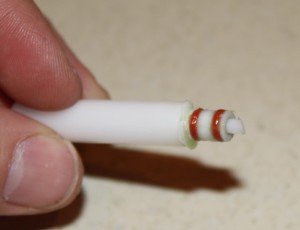
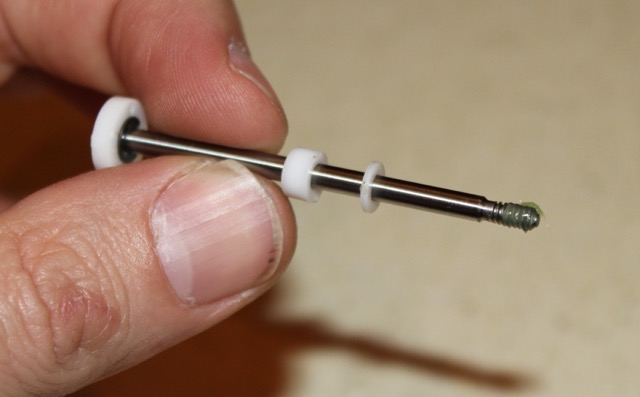
This is the layout of the seal pack. Note the order of the parts parts and then use motor spray or Q-tip to clean out the bottom pocket in the shock body where the seal pack was located.
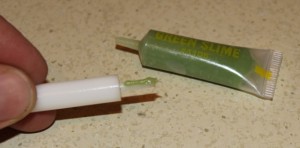 5. Rebuild
Before reinstalling the seal pack, squirt a thin line of Green Slime on the tool. Green Slime is a waterproof lubricant that aids in reassembly and helps the O-rings seal on the shaft.
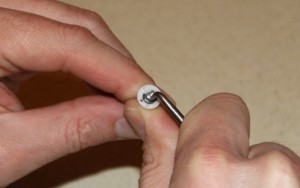
Assemble the seal pack exactly as shown and always use new o-rings when rebuilding your shocks. If your plastic parts have excessive wear, you can also get a complete rebuild kit. Finally, put a little more Green Slime on the outside of the rings and insert the shock tool with the seals on it into the body and apply a little pressure to get the O-rings seated and the locking clip in position. You should hear or feel a click as it locks in place.
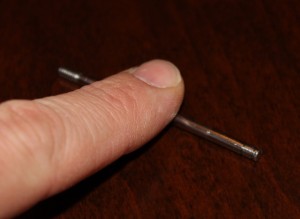
Roll the shaft on a flat surface to see if it’s straight. If you will feel it wobble , replace it immediately.
Optional Step
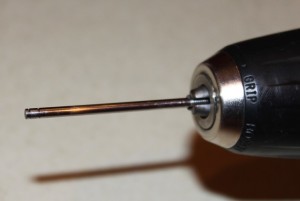
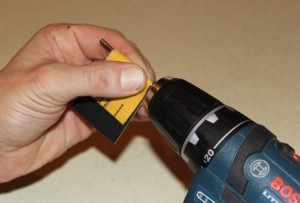
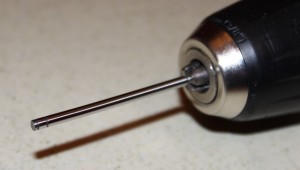
If your shaft has some scratching on it, these scratches will eventually degrade the sealing ability of the O-rings. I chuck up the threaded end of the shaft LIGHTLY in a drill. If you clamp down too much, it will mess up the threads.
- It should look like this when done.
Take some 800-1000 grit sand paper to the shaft and spin it with the drill for a few seconds. Make sure you do the entire length of the shaft. No need to overdo it here. Some major scratching may not come all the way out with this fine of a grit sand paper. Just spin the shaft long enough to give it a nice patina and remove any sharp edges.
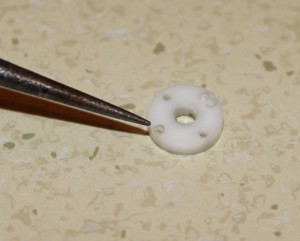
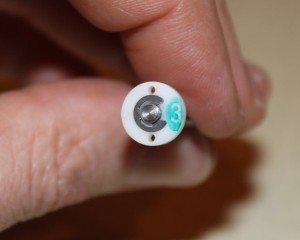
If the piston has excess flashing, remove it with a hobby knife. Make sure the side of the piston where the flashing was is smooth.
6. Piston GO!
Reinstall your piston with the number facing up and use new e-clips if you have them. Then take a sharpie and run it over the number. It will make it easier to see next time you remove the cap to see what piston you are using. Reinstall the spacers you originally removed and apply some Green Slime to the shock shaft threads to help protect the o-rings from being damaged.
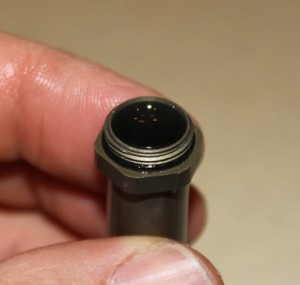 6. Fill’er Up
Hold the shock upright and fill to about 1/8’” from the top with shock oil. Stroke the shock about ½ half of its travel a number of times to get the excess air bubbles out from underneath the piston.
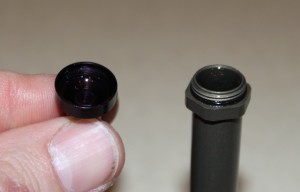 Set the shock aside upright, to allow time for the bubbles to escape then put a few drops of oil in the cap and top off the shock. Now, quickly flip the cap over and screw it down until it just touches the cap O-ring, don’t tighten it down all the way yet.
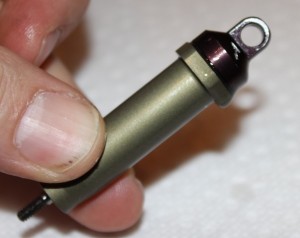 While holding the shock at about a 45 degree angle, back the cap off until you feel it releasing from the O-ring. Push the shaft slowly all the way through its stroke and allow the excess oil to bleed from the shock. Wipe the oil away and screw the cap down with the shaft all the way in. If it is tight and it doesn’t hydraulically push the shaft out of the bottom, you are good to go. If the shaft forcefully pushes out of the bottom, you still need to bleed some more oil out. Repeat the above step until it’s just right.
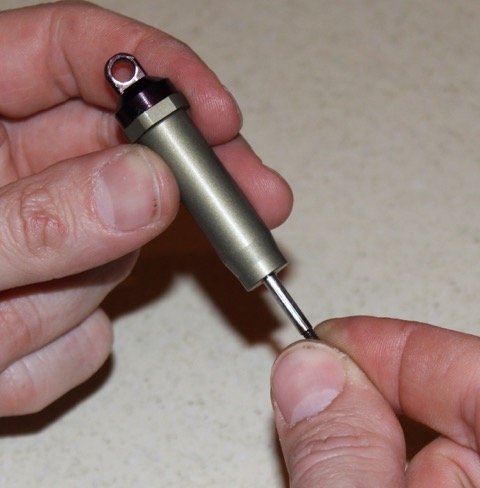 The finished shock should have free movement but if it binds up, you may have a bent shock shaft. There will likely be some small air bubbles left in the shock, but not to worry. The small air bubbles will simply mix in with the oil and it will not hurt performance.
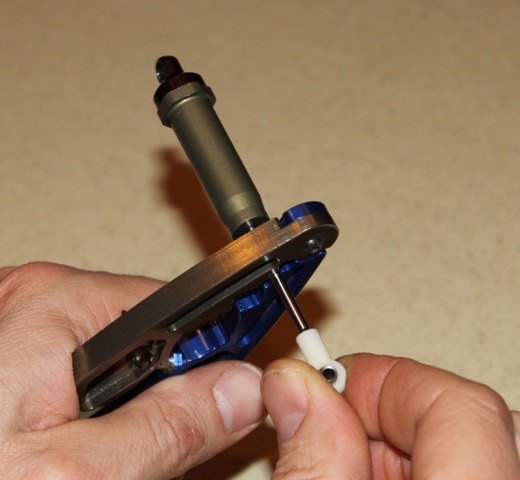 Now reassemble the rest of your shock in reverse order of how you put it together and you’re done! Remember to reset your measurements from Step 1 and put them back on your buggy, and enjoy the fruits of your labor!


