Out Of The Box – Kyosho Scorpion: Part 1
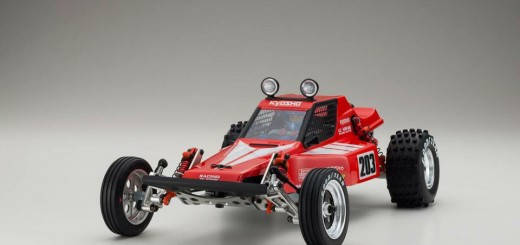
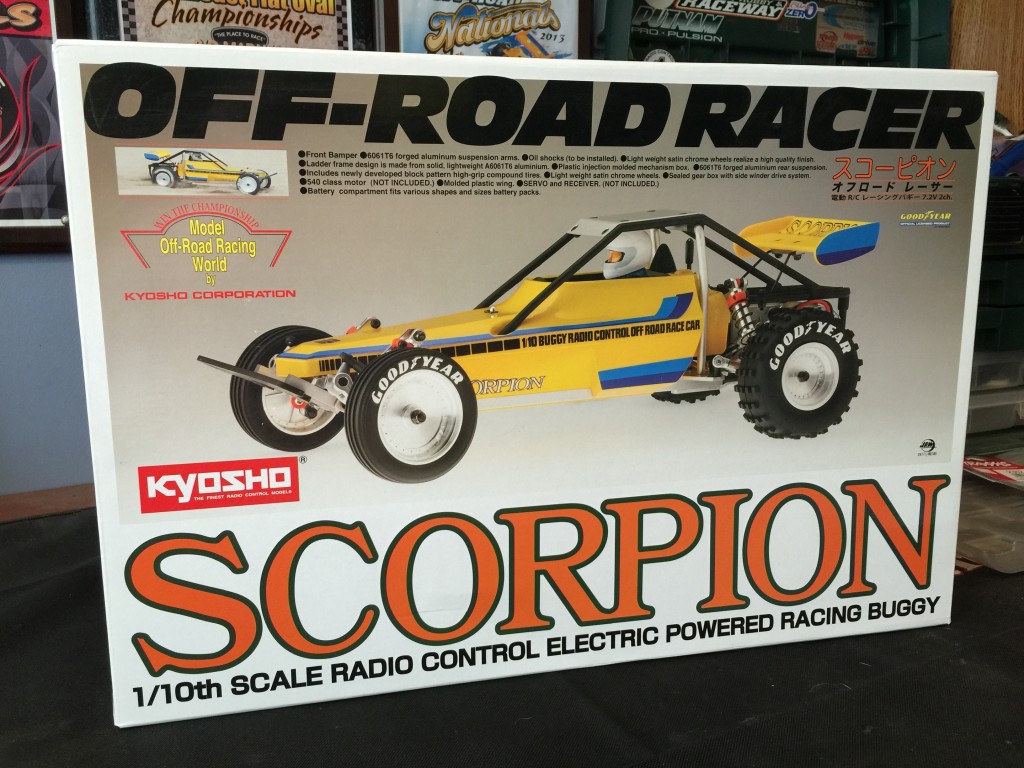 Over the last decade, a few companies have seen the rising popularity in vintage RC and rereleased some of their most classic vehicles. In recent times Kyoshojumped in the ring and shocked the vintage collecting world with the rerelease of one of their most iconic vehicles ever made. For Kyosho buffs, the Scorpion is the one that started it all for the company entering the competitive offroad racing scene in 1982. Legendary pro racer and RC innovator Gil Losi Jr. has been quoted in interviews stating that he started his racing career running Scorpions and it was Jim Thorp that built the first ball differentials for the vehicle and up’d its track prowess tenfold. So what does the “new” Scorpion have to offer? Aside from being pretty true to the original in both design and spirit, it features a few upgrades to allow collectors to actually run the buggy and enjoy it as it was intended. After this 3-part build we’ll do full review on the Scorpion and give you some cold hard details on its performance but for now lets put it together so you can see just how unique this awesome buggy was and still is.
Unpacking
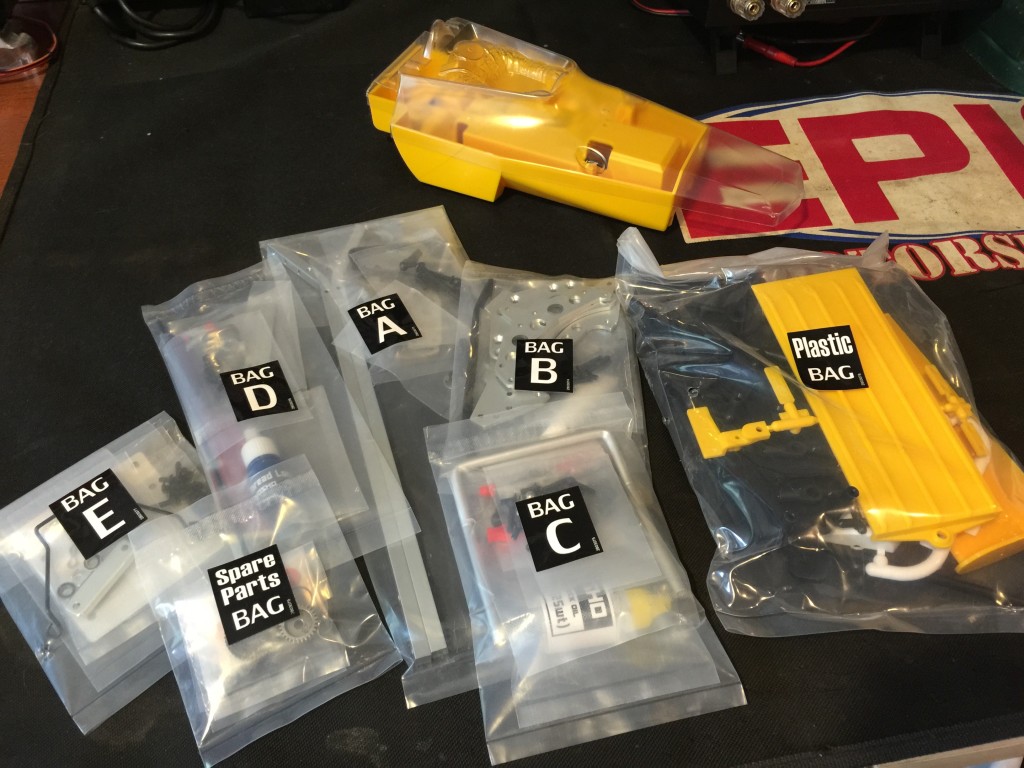
When you first remove the lid, you’re greeted by they type of carefully packed presentation on the 80s could deliver. The aluminum suspension parts, shocks, tires, differential, transmission and dogbones are neatly displayed in blister packs on either side with the chassis, and body packed in the middle. The manual, decals and remaining parts bags are stowed away underneath one of the blister packs. You’ll notice that the transmission comes mostly assembled, the tires mounted on the wheels and the shocks are together. While they may appear completed, you’ll need to do a little extra to each part to finish them if you’re going to run your Scorpion. As they come out of the box, they are in shelf assembled condition only. I like to start by unpacking all of the parts and putting the bags in order so that the build goes smoothly.
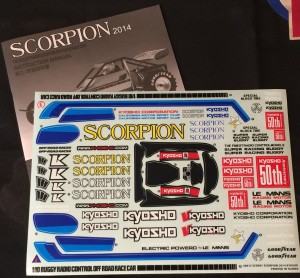
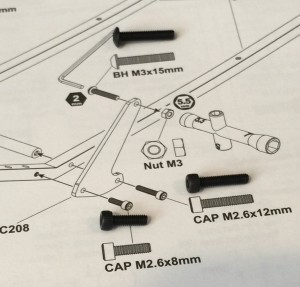
The decals are well printed on clear material and the instruction manual is as easy as it gets. Wherever a specific size piece of hardware like a nut or bolt is needed, the diagram shows the part in 1:1 scale so you can match it up with the manual to eliminate mistakes in assembly.
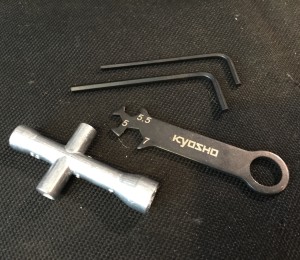
- While you can use your own, the kit includes all the tools you’ll need to put the Scorpion together.
- The Scorpion includes a very well laid out manual and full color decals.
- Not sure which bolt is correct? Place it on the instructions and match it up!
Bag A
The first thing the instructions will have you assemble is the main chassis. Before we begin it’s important to point out that while the manual doesn’t call for it, it’s important to use thread-loc on screws that thread into a metal parts to keep them from backing out if you’re going to run your buggy. When assembling the Scorpion, it’s important to be sure everything is square as it will help avoid issues once completed. Attach the front cross member and shock towers to the rails with the bolt left a little loose and then lay the assembly on a flat surface and tighten them up to ensure the chassis is straight.
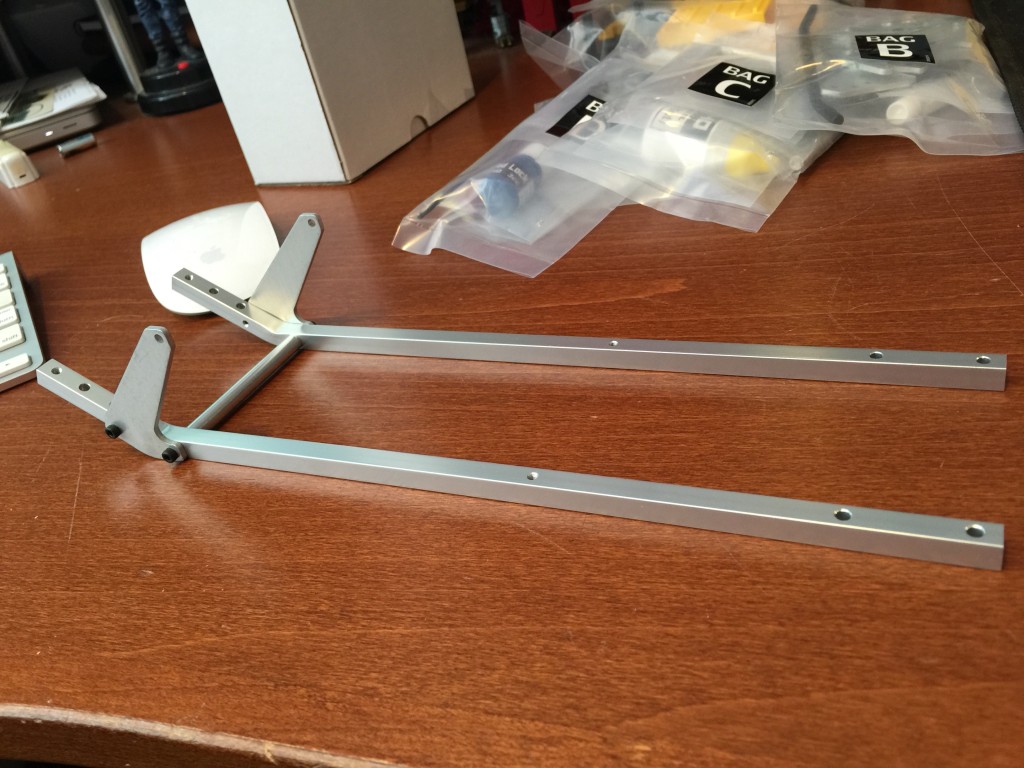
Use your bench or a setup board to make sure the chassis rails lay flat before tightening the bolts completely.
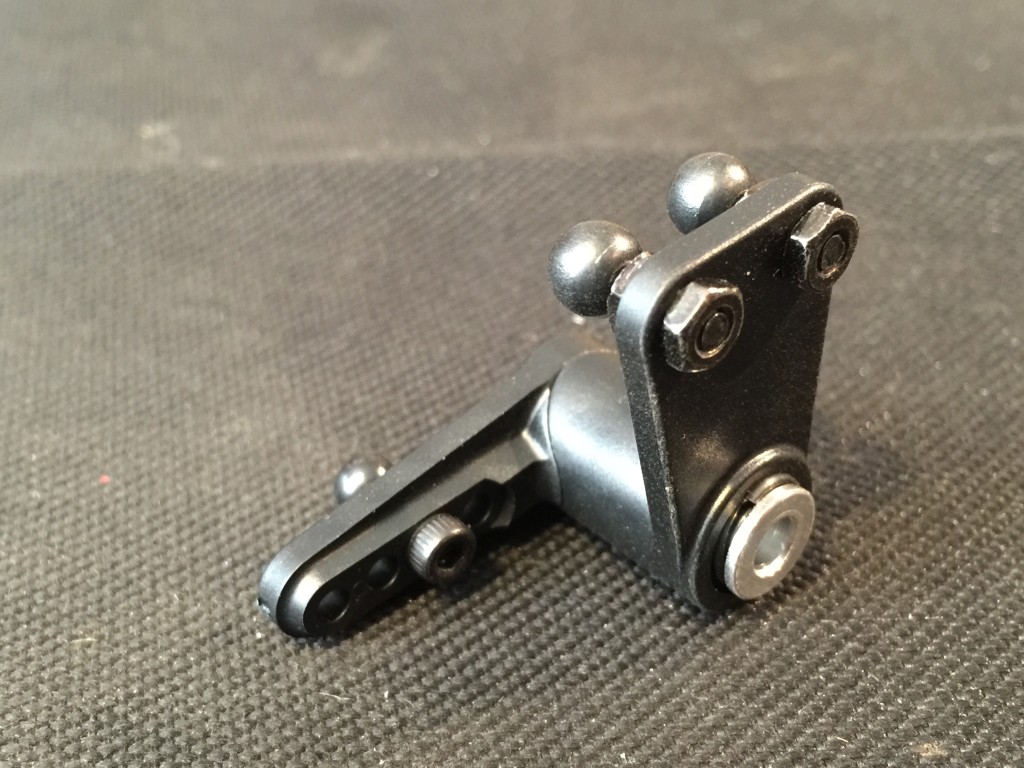
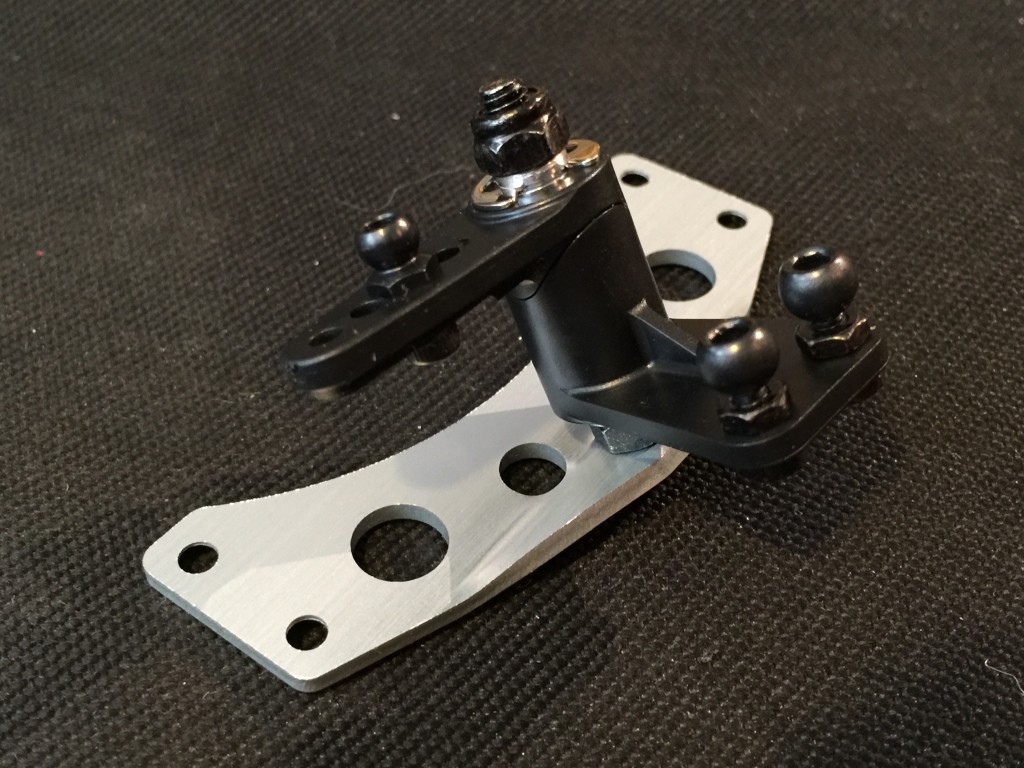
Next up you’ll put the servo saver together; it features a spring loaded assembly that is held in place by a large e-clip and can separate and then return during collisions to absorb energy before it reaches the servo and damages it. Once assembled, the servo saver mounts to the center of skid plate. Maseru the ball studs in the servo saver are flush on the bottom so they don’t scrape against the plate when the servo saver articulates.
- Make sure the ball studs don’t stick out the bottom or they’ll hit the skid plate.
- With the saver completed, mount it to the skid plate. Make sure the ball studs don’t stick out the bottom or they’ll hit the skid plate.
Bag B
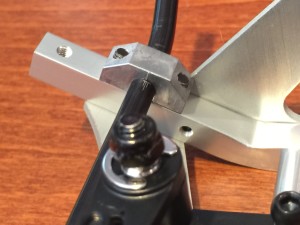
Pay close attention here. The marks go on the right side. When I first assembled the front arm I had the marks on the wrong side.
Now we’ll unpack Bag B and install the front arm assembly and rear plates that house the tranny and rear end. The front arm is a single bar that is bent on the ends and held in place on the chassis rails using a set of clamps. Pay close attention when installing the arm as it is etched on the right side. This not only positions the arm so it is swept up and forward but also sets the correct angle for the front end against a mark on the right clamp.
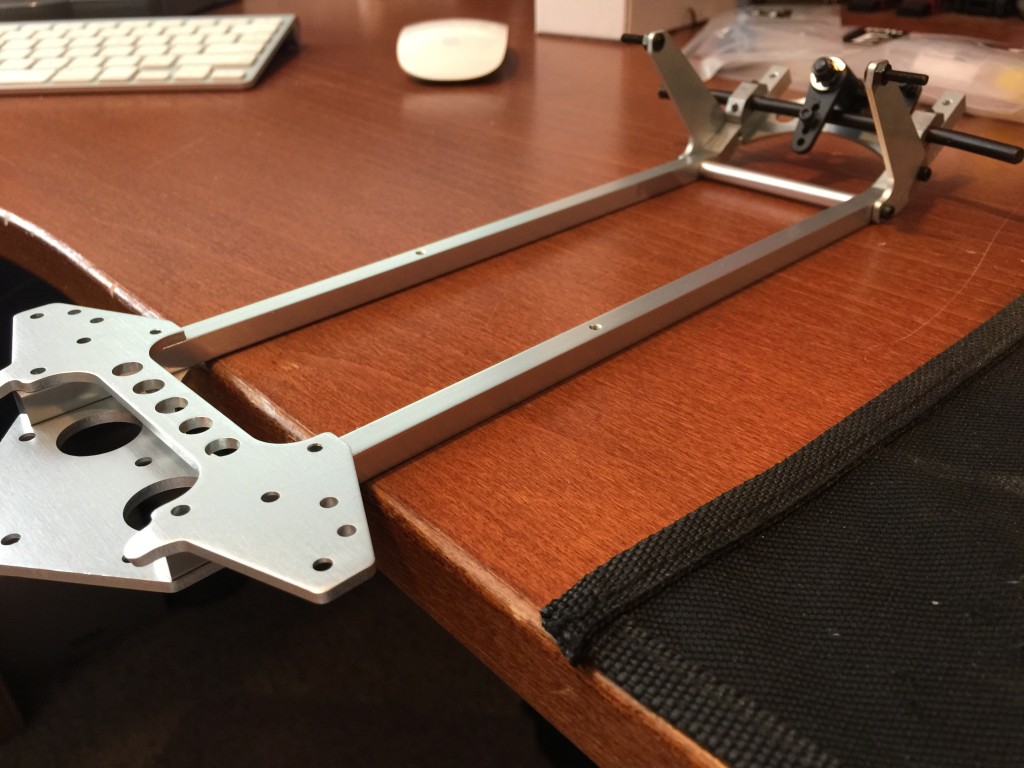 With the front end put together and the skid plate mounted, install the rear plates and then move on to the transmission. Again, lay the finished chassis on a flat surface before tightening up the rear bolts to make sure the rails are flat.
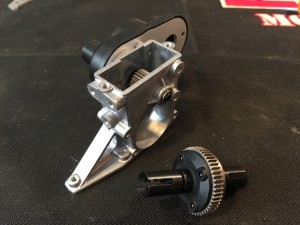
The tranny and diff are prebuilt from the factory, you only need to install the diff and complete the assembly.
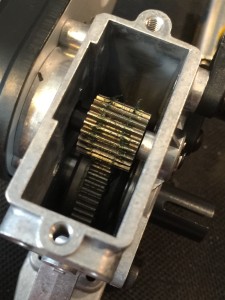
No assembly required here, the tranny is built from the factory but don’t forget the grease if you’re going to run your Scorpion.
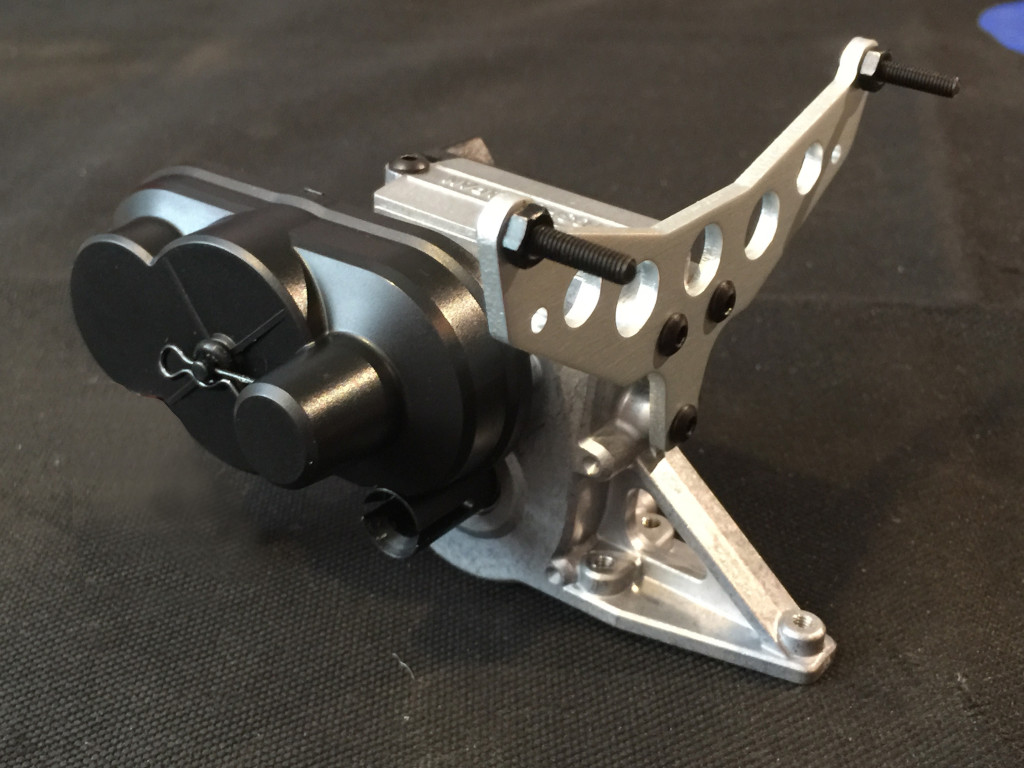
The tranny comes 75% preassembled from the factory to save some time. You’ll need to install the prebuilt gear differential (which is straight out of the RB6 2WD buggy) and, if you’re going to run your buggy, add grease to the metal gears to keep them lubricated before bolting on the left side diff cover and motor brace. When installing the motor brace, be sure it sticks out away from the tranny, I (along with a lot of people) put it on with the support behind the case. To finish assembling the rear end, you’ll attach the rear shock tower and the top of access plate onto the tranny. The access plate allows you to open the tranny without removing it to apply more grease during maintenance.
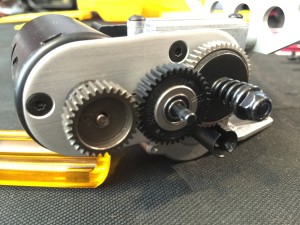 The last steps are to remove the gear cover and install the motor, pinion gear, and idler gear and then apply grease to these gears. Kyosho equipped the Scorpion with metal gears to make it strong enough for brushless power but since it would most likely race in a Classic type class, I went with a brushed 23turn spec motor. Kyosho also updated the rerelease to include a slipper clutch to further improve the gearbox for modern racing power. The rear shock tower mounts directly to the front of the tranny with three screws. The finished assembly is a one piece rear end that will attach to a mounting plate in the next set of steps.
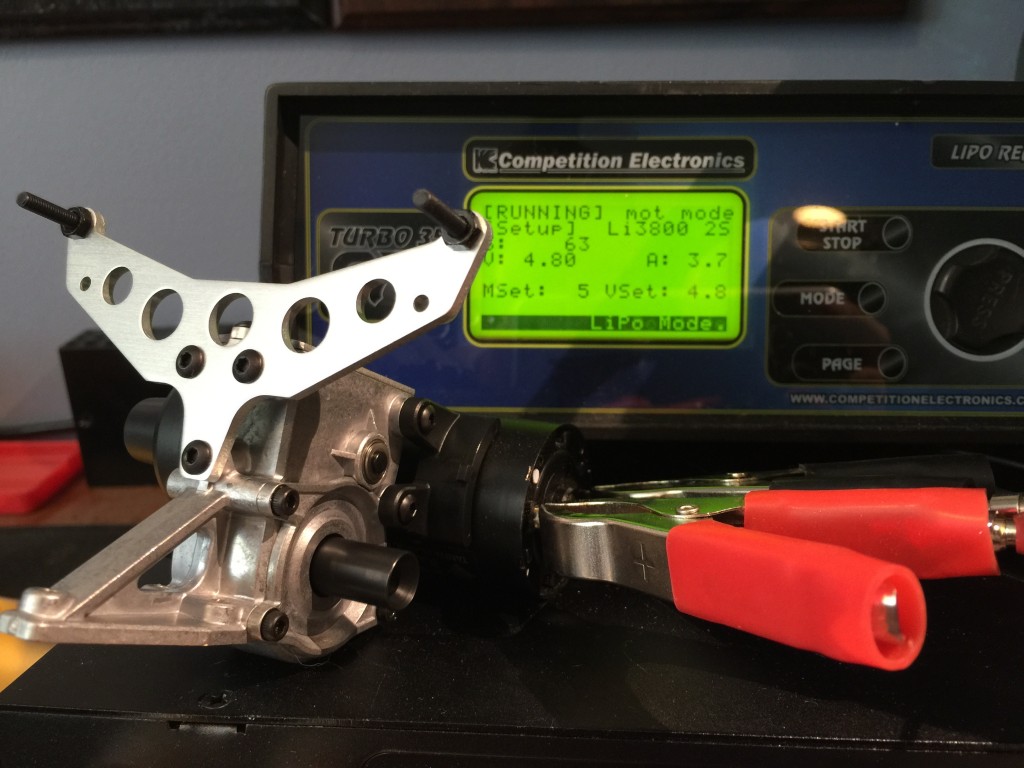
Once assembled, I broke in the tranny by running the motor at 4.8v on my charger for about 10 minutes.
Once assembled, the transmission may not spin freely. If this is the case as it was for me, run the motor on partial throttle by connecting it to a half charged battery pack or your charger if it has a motor run function.
And that’s where we’ll call it a day! Today we assembled the basic chassis, front and rear ends and the gear box. With the exception of the tranny needing to be run in a little bit, and the couple of times I didn’t read the instructions carefully, I have to say the assembly is going really well. Everything fits together well and the Scorpion is made of solid materials that didn’t bend or strip out. Next up in Part 2 we’ll mount the tranny to the rear and and start bolting on those works of art otherwise known as the trailing arm suspension. There’s also shocks, roll cages and tons more so stay tuned for more next week!


