Out Of The Box – Kyosho Scorpion: Part 2

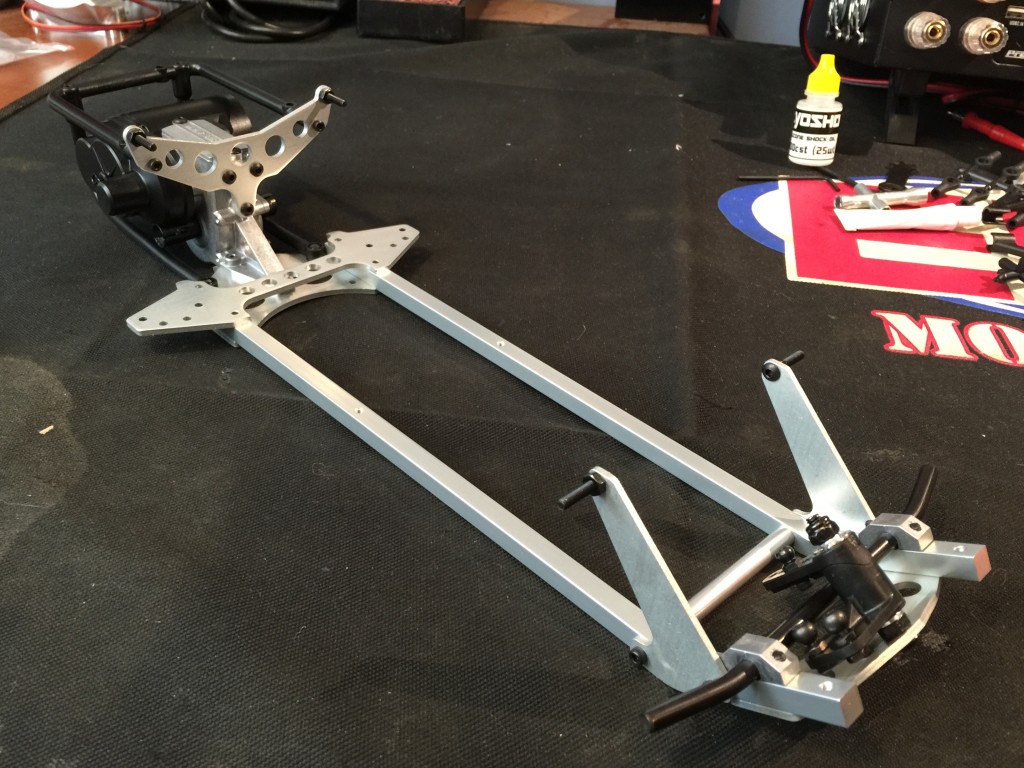 Looking back at Part 1 of our Scorpion build, so far its been a nice experience. The manual is very well done and while the car was a little confusing at times as to how it goes together (the front bar and motor mount in particular), its really just a function of a design that dates back to the early 80s when RC companies were still really experimenting. If you can put aside what you already know of how a buggy is built, you’ll have an easier time paying attention to the instructions. To think that this car was the pinnacle of performance is really pretty amazing when thinking about how far we’ve come since. The metal gear tranny and partially assembled bits make it a little easier and when considered against the price of the car, it becomes obvious that Kyosho’s goal was not only to reissue one of their first true racers but to make it modern RC friendly and easier for the newer “RTR” generation to put together. We left off with the transmission installed and the basics of the front end put together so let’s jump into Part 2 with both feet!
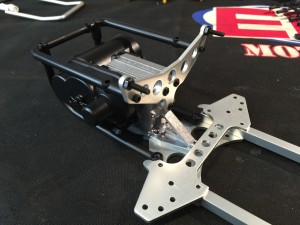
The roll cage attaches to the back of the shock tower and the lower mounting plate to keep the motor and tranny protected.
So when last we left off, we’d installed the tranny, shock towers and front end to the chassis. Now its time to start making this look like a buggy and that means that Part 2 will pick up with Bag C. Start by attaching the plastic rear roll cage to the shock tower. This 3-piece cage is separate from the rest of the cars esthetic cage and guards the motor from rear end collisions. Once the cage is installed, bolt the rear transmission assembly to the rear lower mounting plate and secure the ends of the cage as well.
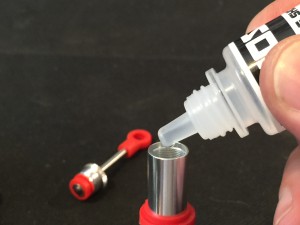
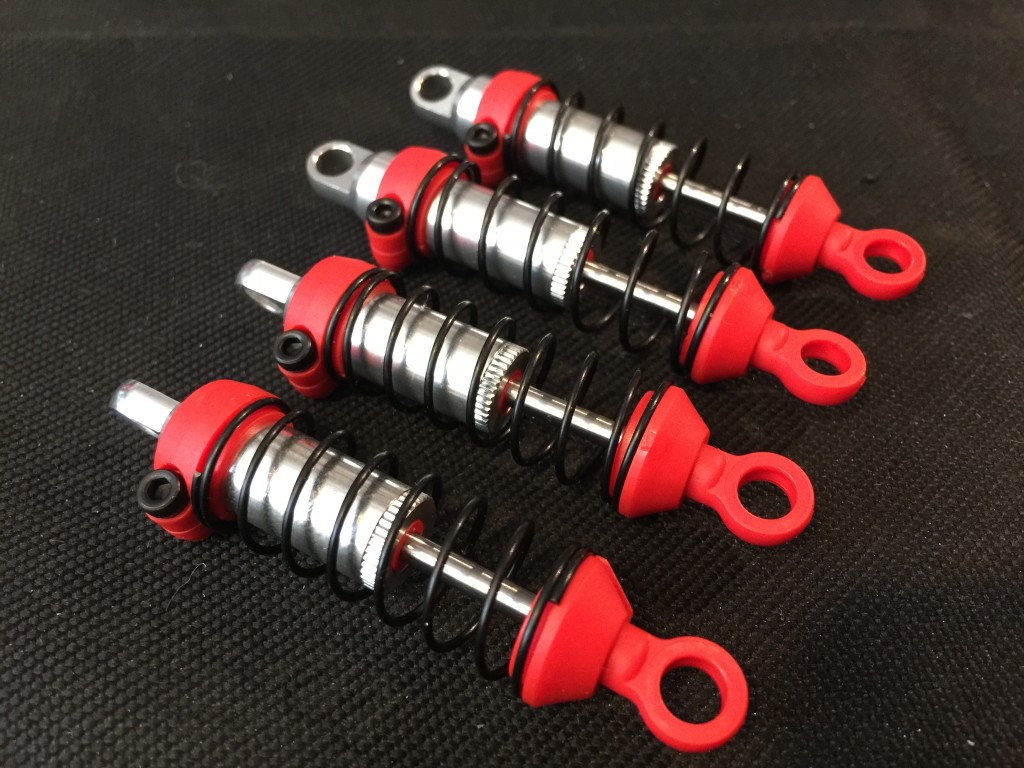
The shocks come preassembled for shelf cars but you’ll need to fill them up if you’re going to run your Scorpion.
Now it’s time to set the chassis aside, shocks are up next. If you’re going to keep your Scorpion on the shelf you can mount the assembled shocks on your car and move along but if you’re going to run the buggy as it was intended you’ll need to open them up and top them off with oil. Kyosho’s included combo wrench features a round end that fits perfectly over the bottom cap of the shock to aid in loosening and tightening it. With the bodies filled up, slip the included gaskets over the cap, screw it onto the body partially and push the shaft all the way in to push out any excess oil. I had to repeat this step a few times to the shocks right but the finished product was a set of shocks that are on par with any that have made Kyosho famous over the years. Impressive for such tiny bodied dampers that were made while someone listened to their freshly purchased copy of Michael Jackson’s Thriller.
Next up are the Scorpion’s cast aluminum rear trailing arms. When putting these arms together, pay extra care to the height of the ball stud height and once set correctly, tighten the nut down to hold it at the kits 8mm height. You’ll need this for proper lower shock clearance in a bit. Installing the axles finishes off this stop and we’re ready to mount these gorgeous babies to the car! The rear arms are mounted to the upper plate via a set of angled mounts with a setscrew in each that retains the hingepin. When installing the mounts, leave them loose until the dogbones are in place to avoid the bone getting pinched up as the arm articulates.
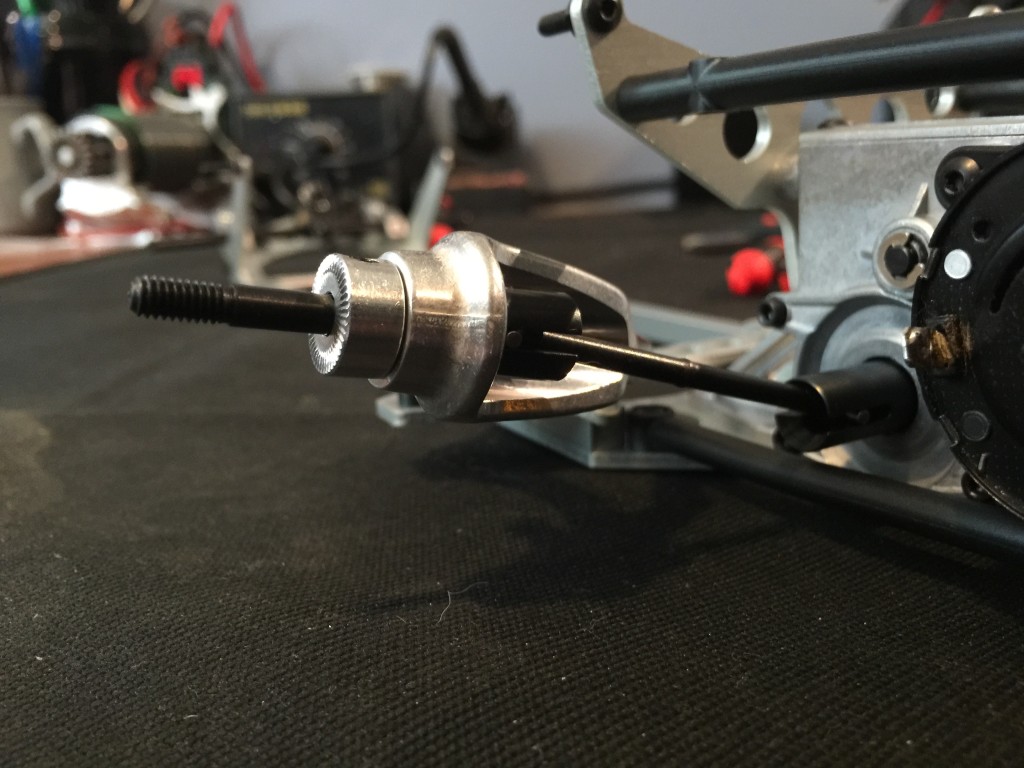
Once you’ve tightened the screws down, the arm should articulate all the way up and down without binding on the dogbone.
With the dogbone in place, raise the arm up so that the bone is level (the ends are furthest in the axle and tranny cups) and then tighten the mounts down. If you’ve done this correctly, the arms should move freely through their entire range of motion and the dogbone shouldn’t bind up at all. If it binds, loosen the screws and do it again. If the arm doesn’t move freely, back off on the setscrews a little bit.
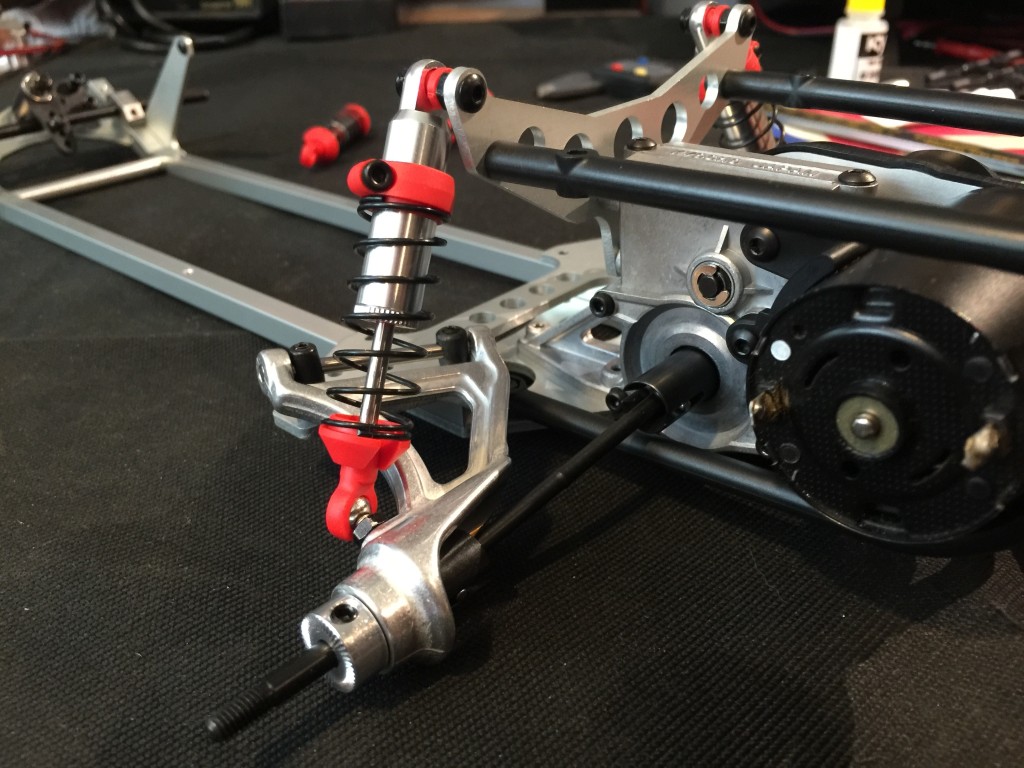
The finished rear suspension should look like this. Make sure everything moves smoothly and if it binds, loosen the screws and start over.
Next we’re going to install our assembled rear shocks to the tower and arms. And attached the upper roll bar to the chassis before moving on to the infamous D Bag.
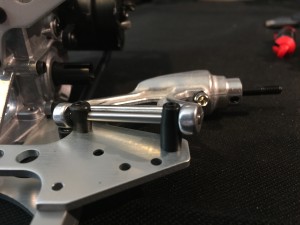
 Bag D starts off by attaching the steering blocks to the front arms via a small aluminum block that passes through the end of the arm and provides an upright axis for the steering to mount to. Again you’ll install ballstuds to specific heights before locking them down with a nut, which is crucial to achieve the correct steering geometry.
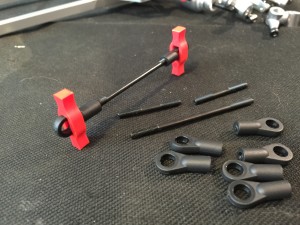
The last part of this step is my least favorite when it comes to building RC cars, turnbuckles. Kyosho must share my contempt for linkages because they included a pair of tools that slip over the ball ends to give you a thumb tool to twist them on with. A nice touch that was greatly appreciated by my fingers.
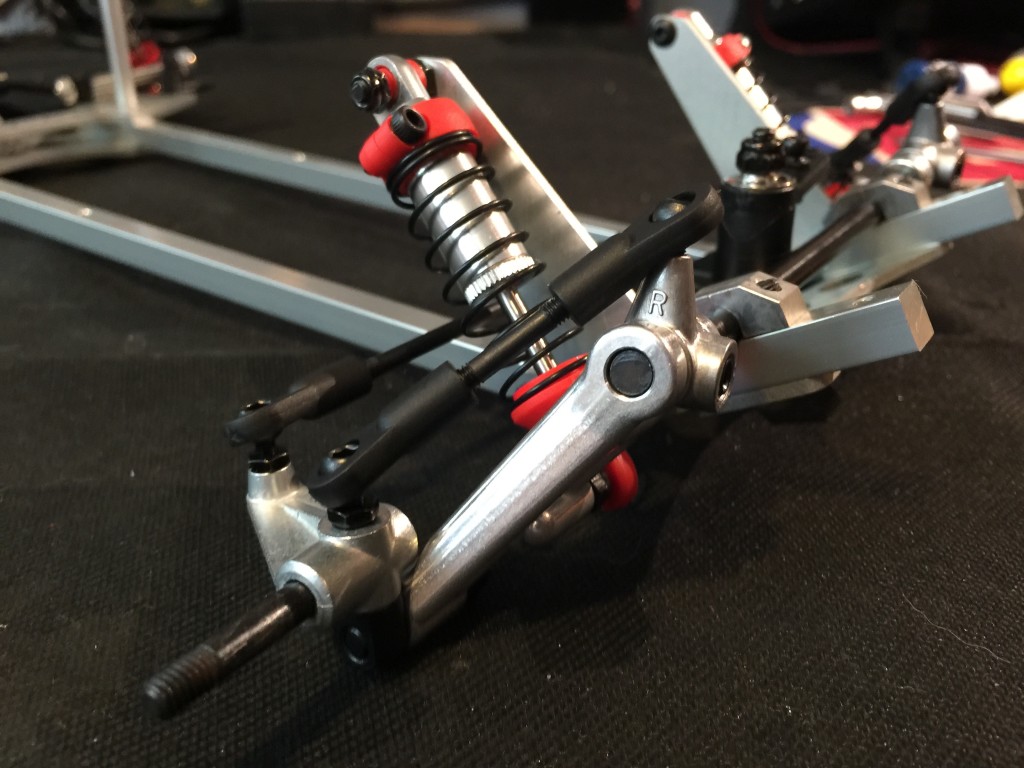
The finished front end will look like this. If you built the turnbuckles to the lengths called for in the manual you’ll have a geometry that works very well with zero bump steer.
Now if you installed the front bar correctly the first time (unlike me) then it will be sweeping forward and the hash marks will be on the right hand side of the car. Slide the arms onto the bar so that the end of the bar is flush with the outside of the arm and then tighten the setscrew that holds it in place. Attached the linkages and front shocks and there you have it. One super deluxe pile of metal that’s starting to look like a buggy.
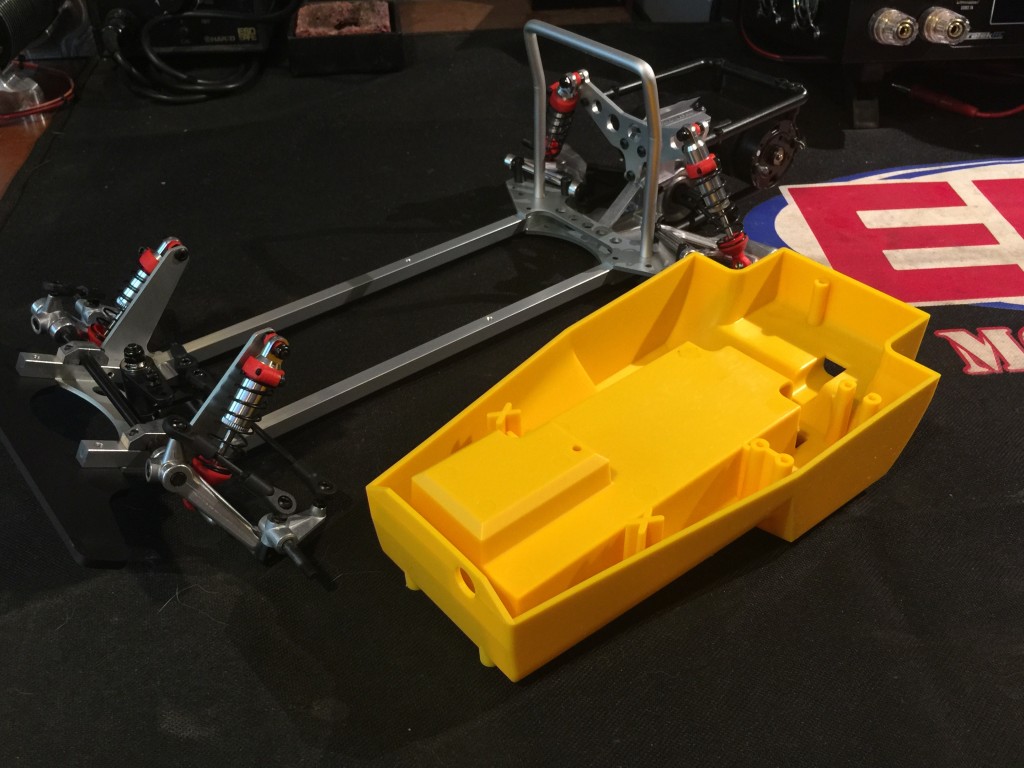 At this point you may be wondering how everything is going to mount in the middle with just two rails running either side. We’re going to stop here for now, fire up the PS4 and get in a little bit of Call Of Duty before we address that in the third and final part of this build along with finishing the body and installing electronics. Like with many things in life, the finishing touches are all about details so come back next week for Part 3 and then we’ll hit the dirt with our Kyosho Scorpion in a full review.

