Out Of The Box – Kyosho Scorpion: Part 3

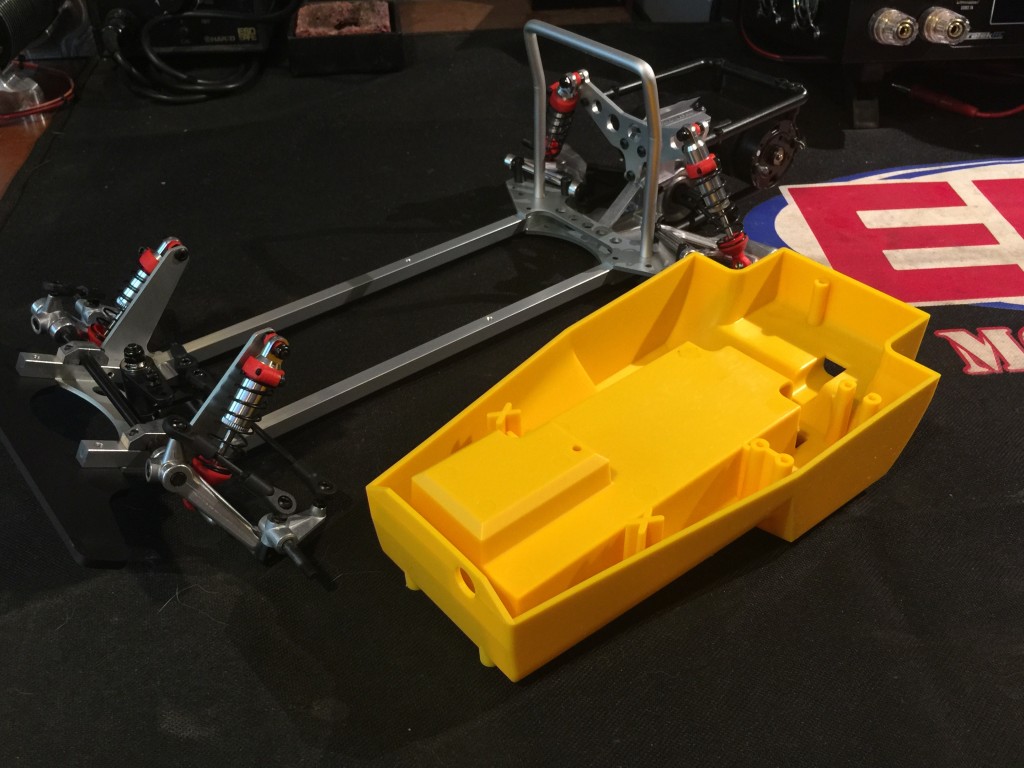 When we wrapped up Part 2 of the Scorpion build, we finished the main bits of the buggy and were heading into giving it “ttomdy” to mount the electronics and finish up. The car so far has been pretty simple to build and considering that this buggy was raced in what is sort of like the “Age of Dinosaurs” for RC, it’s been very interesting to see how things were designed back in the early 80s. There have been some moments where the instructions called for extra attention and the suspension has required a little added care when assembling to ensure it didn’t bind but now with the front and rear ends complete, we’re left with a very small amount of parts to assemble, some electronics to install and then we paint! So lets not waste a lot of time here, and get back to building for our third and final part of this Scorpion build starting with the radio box which will make up the main part of the chassis.
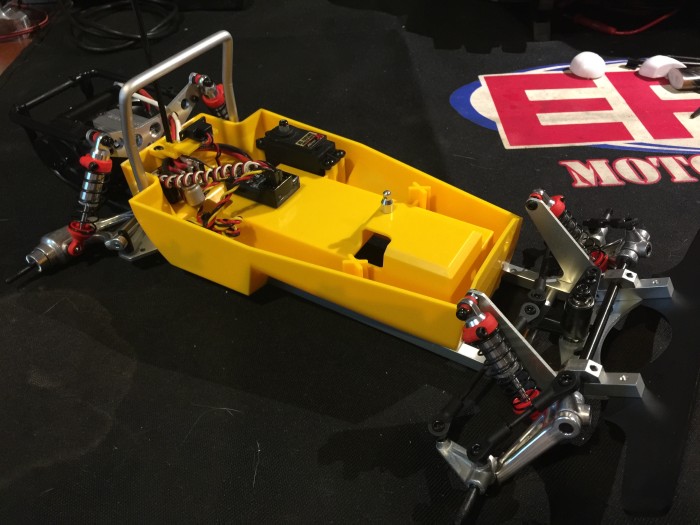
With the electronics installed, your Scorpion should look something like this. The battery mounts through the bottom of the car and is held in place by a cover that becomes the bottom of the buggy.
Once you install the radio box, the Scorpion really starts to look like a proper RC car. The bottom has a molded space to store the battery and is big enough for a 2s Lipo or 6-cell NiMH pack. before installing it on the car, the manual will have you install the front aluminum body post, a small bracket underneath for the battery door and your steering servo. Pay attention to the servo’s mounting height and use the included spacers if your servo is taller than 27mm.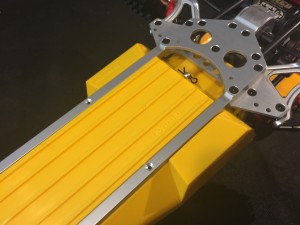
Our Hitec HS-7985MG servo fit perfectly without any spacers and most modern servos will too, just be sure you’re aware of the height before installing it to avoid binding up the steering rod later on. With the servo in place, the radio box bolts to the frame rails using a pair of screws that thread into the frame rails and now its time to install the rest of the electronics.
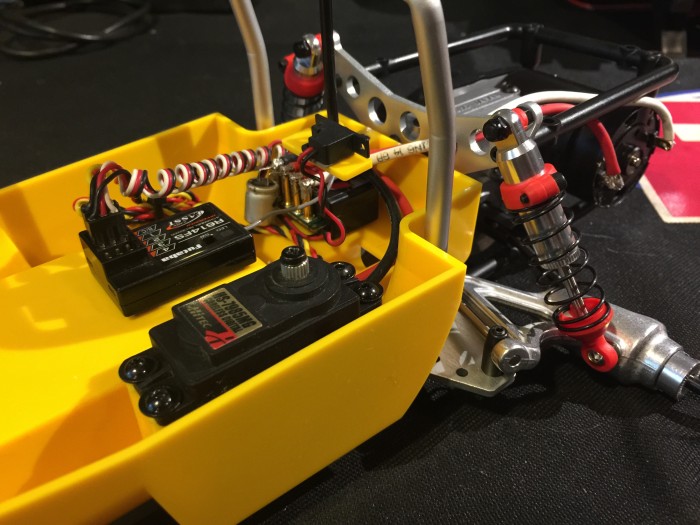
With the electronics installed, the radio box is clean and well organized. I fed the motor wires through the shock tower but they really exit the box down below.
The speed control mounts to the rear of the box with the receiver on top of the battery box. Be sure to position the speed control so the motor wires can easily be routed out through the bottom of the radio box and have enough length to reach the motor leads. Next up, a small tray bolts above the speed control and provides a shelf for the on/off switch to mount so that it’s accessible with the body on. Last step here is to assemble and install the steering rod and feed it though the rubber boot that seals up the front of the radio box. The electronics install is clean and neatly stowed away in a manner that leaves it accessible and easy to work on. and with that, the majority of the actual buggy is complete!
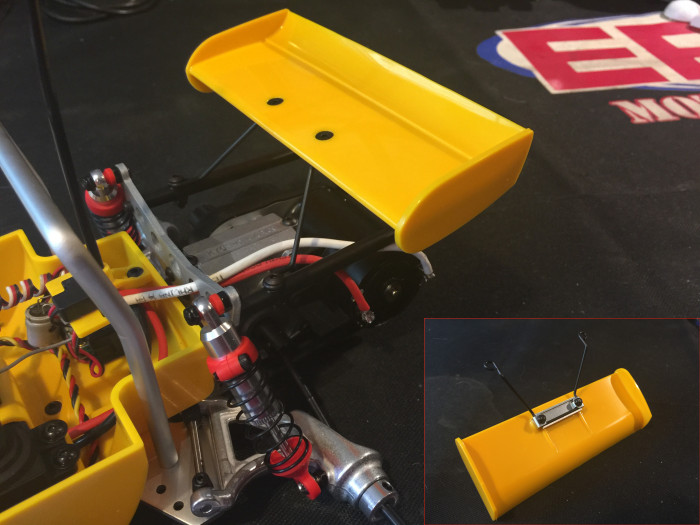
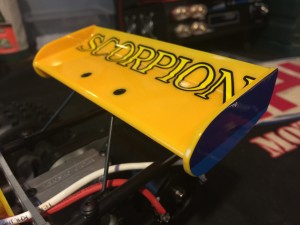
Moving on, the body is all that’s really left to finish so we’ll start with the wing which mounts to a pre-bent piece of thick piano wire and held in place with a metal bracket. Once assembled, the wing wire mounts to the rear section of roll cage and stands it upright allowing it a little bit of give in a rollover.
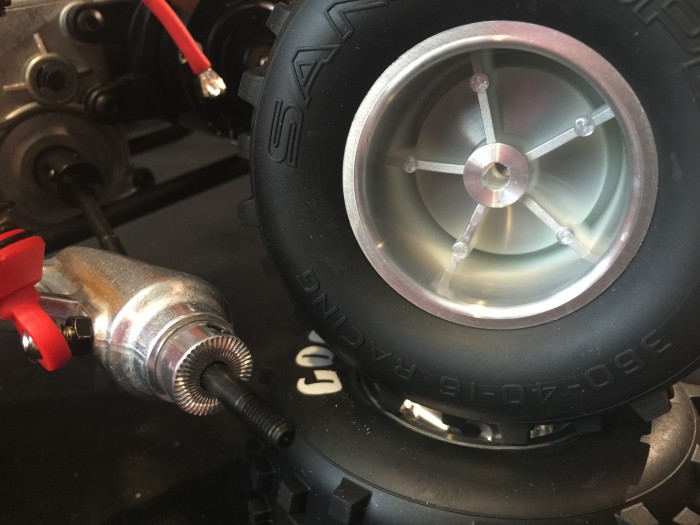
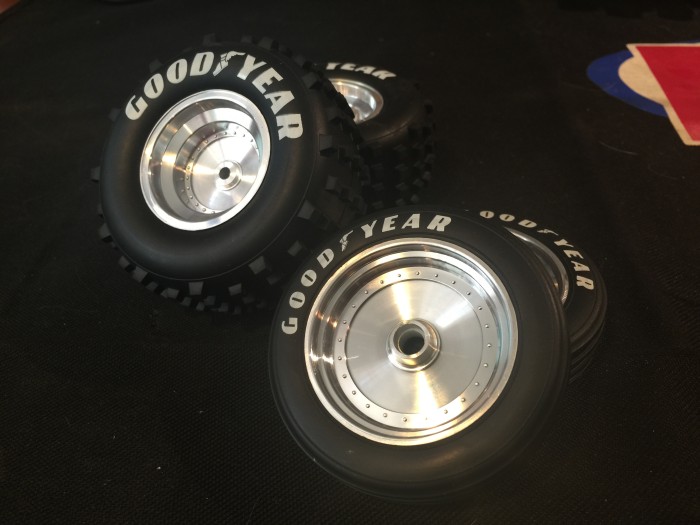 We’re in the home stretch now which means tires to be glued before finishing off the body. The Scorpion comes with a set of plastic wheels with an aluminum looking finish. They mount up with a set of Goodyear replica tires with your typical bead and since they were already partially assembled out of the box, you’ll just need to glue and mount them up.
The front wheels are supported by a set of bearing and held in place with a wheel nut while out back, a knurled-faced plate presses against the back of the rear wheel and the teeth dig in to grip it tight. Believe it or not this system works well but if you want to run hexes, the Scorpions offset allows for that too, you’ll just need a set of hex wheels to match.
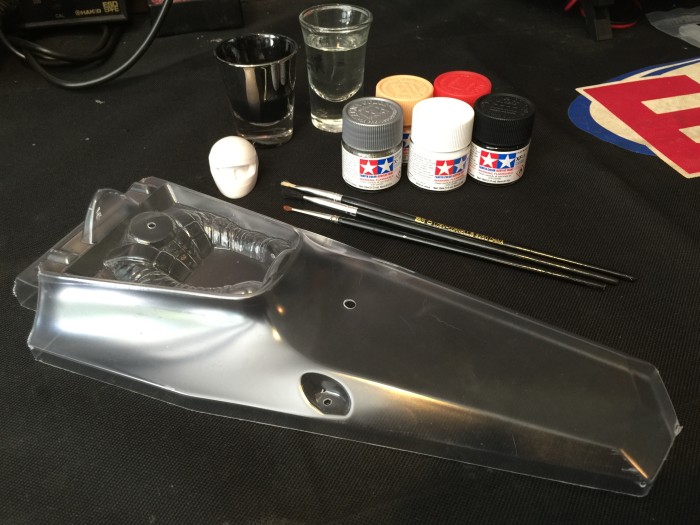
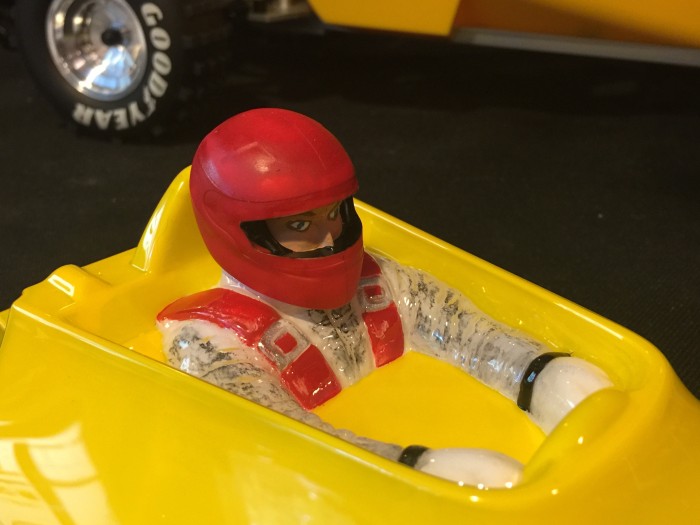
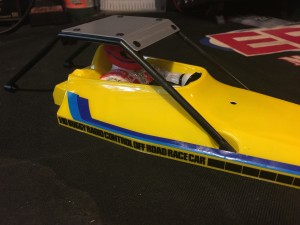
Now with the buggy complete its time to paint! To keep our Scorpion pretty close to the box art, we opted for a simple rattle can yellow paint job; the blue strips are on the decal sheet. We grabbed some model paint and brushes to detail the driver and depending on your preference you can paint him first from the inside and then the spray paint or on the outside after you spray the body color, I chose to paint everything on the inside; it looks a bit more glossy but protects the paint when the car runs in dirt.
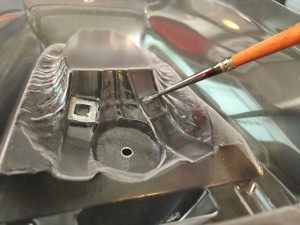
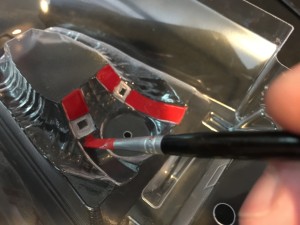
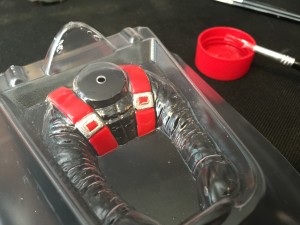
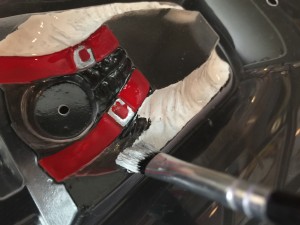
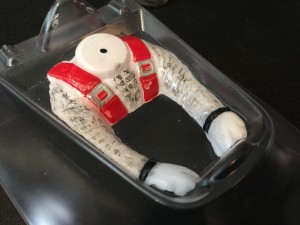
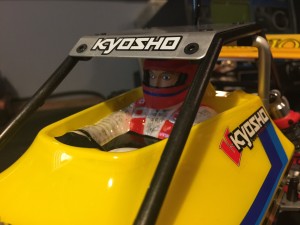
The decal sheet includes stickers for seat belts and most of the finer details of the driver but I chose to paint them instead for a little different look. Remember you need to paint backwards so anything that is on top will need to be painted first and then work your way back. We’ll start with silver for the belt buckles and then move back to the straps.
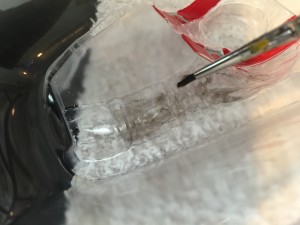
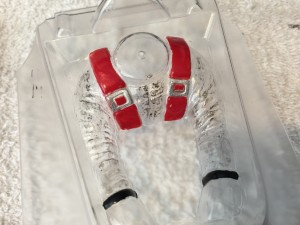
Next up we’ll add some texture to the driver’s clothes by using some thinned down black paint and lightly brushing it on and then quickly sobbing the excess off with a dry towel. You can build up more paint for darker shadows but don’t worry too much about this part, its just going to make the clothes look a little more real and details. Finally add any full color details and back up the suit with your base color (I used white) and your diver is done. Now for the head!
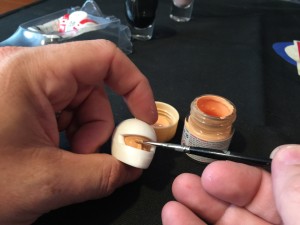
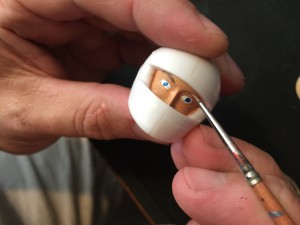
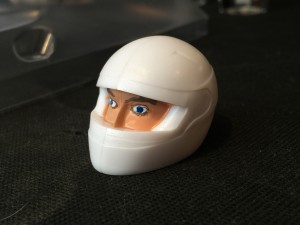
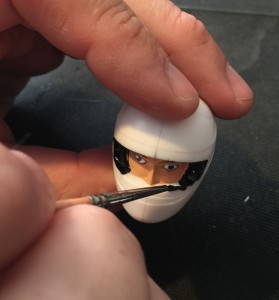
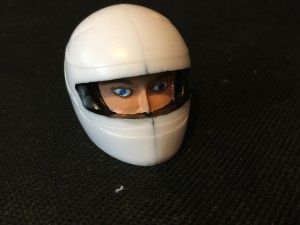
Now, since we’re back to painting on the outside, start with your background colors and work up. We started with the flesh tone. You can use a flat color or add a tiny amount of dark tint to add blemishes or shadows to the skin. With the flesh tone laid down, I darkened in between the eyes and a small amount on either side of the nose and then blended with a dry brush to give the facial features a little more 3D texture. Next we detail the eyes with white and then the color and pupil before finally closing in the face by painting the inner part of the helmet with black. Allow time for this to dry before moving on to the outside.
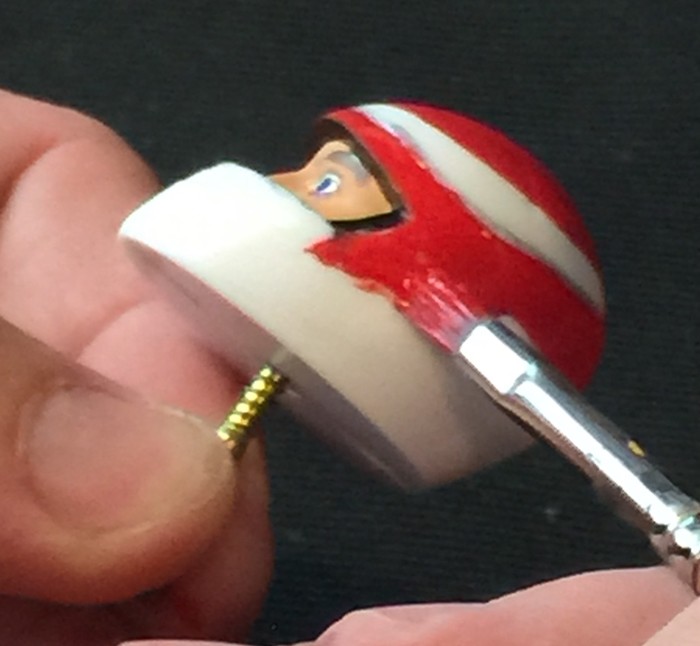
Before you start on the helmet detail, install a long screw in the bottom so you have something to hold onto it by. Using the screw in the bottom also gives you a handle to pivot the helmet on if you want to try your hand at painted stripes. I’m going use some of the decal material for fine details so I painted it all red for now. Once the helmet finished, you can paint the rest of the buggy body and then install the the head once everything is dry. Time for stickers!
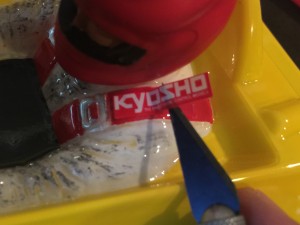
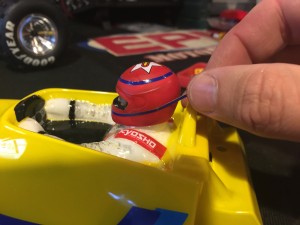
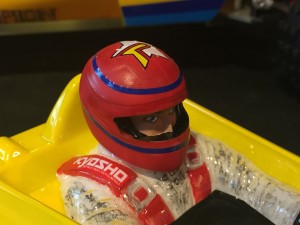
I cut out the Kyosho logo from the middle of the seatbelt decal and added it on top of my painted decals to give it a little extra and then applied some other decals to the top of the helmet. The pin striping came from the excess left on the sheet after applying the blue body stripes. Wrapping the stripe around the helmet, pay extra care to make sure the curve is even and start and end the strip in the back where it won’t be noticed as much. The finished product is a pretty slick looking stig behind the wheel.
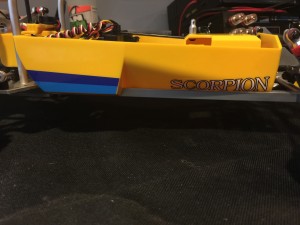
Before we finish decaling the body, install the roof cage and the apply stickers to it, the wing and the radio box according to the instructions. A lot of the fine detail on the driver won’t be seen while you’re driving but its purpose, aside from looking great on a shelf, is to work with the buggy’s overall realism and believe me it really does.
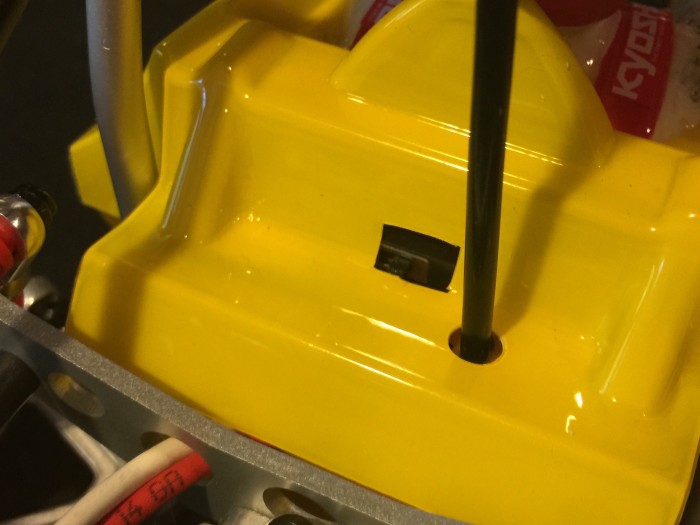 Last but not least, cut out the marked square in the back of the body and test fit it to make sure you can reach the on/off switch. Cut a small amount at a time until you have enough room and then install your finished body on the buggy. The antenna also exits the body through the back. A little tip; when you removed the body, first slip the antenna under the metal roll bar so it doesn’t get caught and keep you from getting the body off.
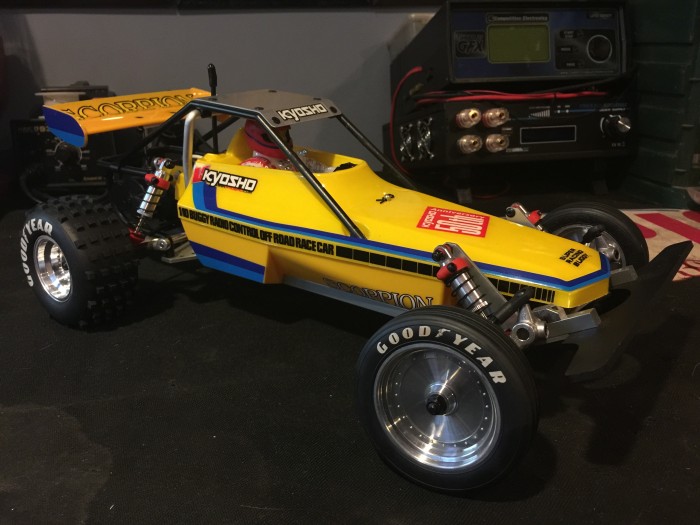 And we’re done! The Scorpion went together in a total build time of about 3 hours thanks to the preassembled parts and simplistic design and man does it look awesome on the bench. The body fits tightly over the radio box and thanks to the rubber boot up front, the entire tray isn’t water tight but should keep 99% of the dirt the buggy encounters out. Now’s time to charge up a battery, set the trims and hit the dirt! Stay tuned for our full review to come next week!

